How to prep Welding cable for a low resistance splice, part 2 | |
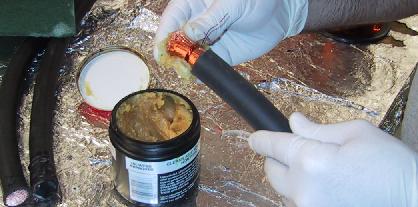
The whipping must be reasonably tight. We do it by twisting the magnet wire by hand. It works well for us and using a tool would probably break the magnet wire. Once your satisfied with your whipping, you must flux the cable end. We use a general purpose paste flux. You can't use too much flux but you can use too little. So, apply it liberally. | ||
 | ||||
Rosin fluxes are an irritant, and seem to get everywhere. Be prepared to use a lot of disposable gloves. | ||||
 | ||||
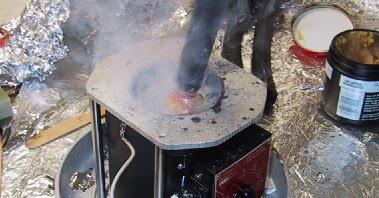
Now comes the big moment. Slowly, dip the end of the cable into the pot. There will be a lot of bubbling and hissing. Continue down until you reach the insulation. At about that time, everything will quiet down as the cable end will reach the solder temperature and the flux will have burned away. You can then remove the cable. This process creates a lot of smoke so be sure to have adequate ventilation and a fan. | ||||
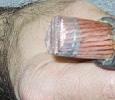
What look like individual strands in this picture are actually groups of fine wire, which are in turn grouped to form a large cable. | |||||||||||||
The next step is to saw the cable end at its narrowest point. This is usually somewhere between the whipping and the inusulation. Do not apply too much pressure to the saw as you reach the end of the cut; you will seperate strands. |
| ||||||||||||
The cable end will now fit into the connector. (However, with some brands of cable we have had to ream out the connector slightly to fit. It seems to depend on exactly how the manufacturer winds his strands.) The cable end should be re-fluxed and inserted into the connector. Continue | ||
 | ||

